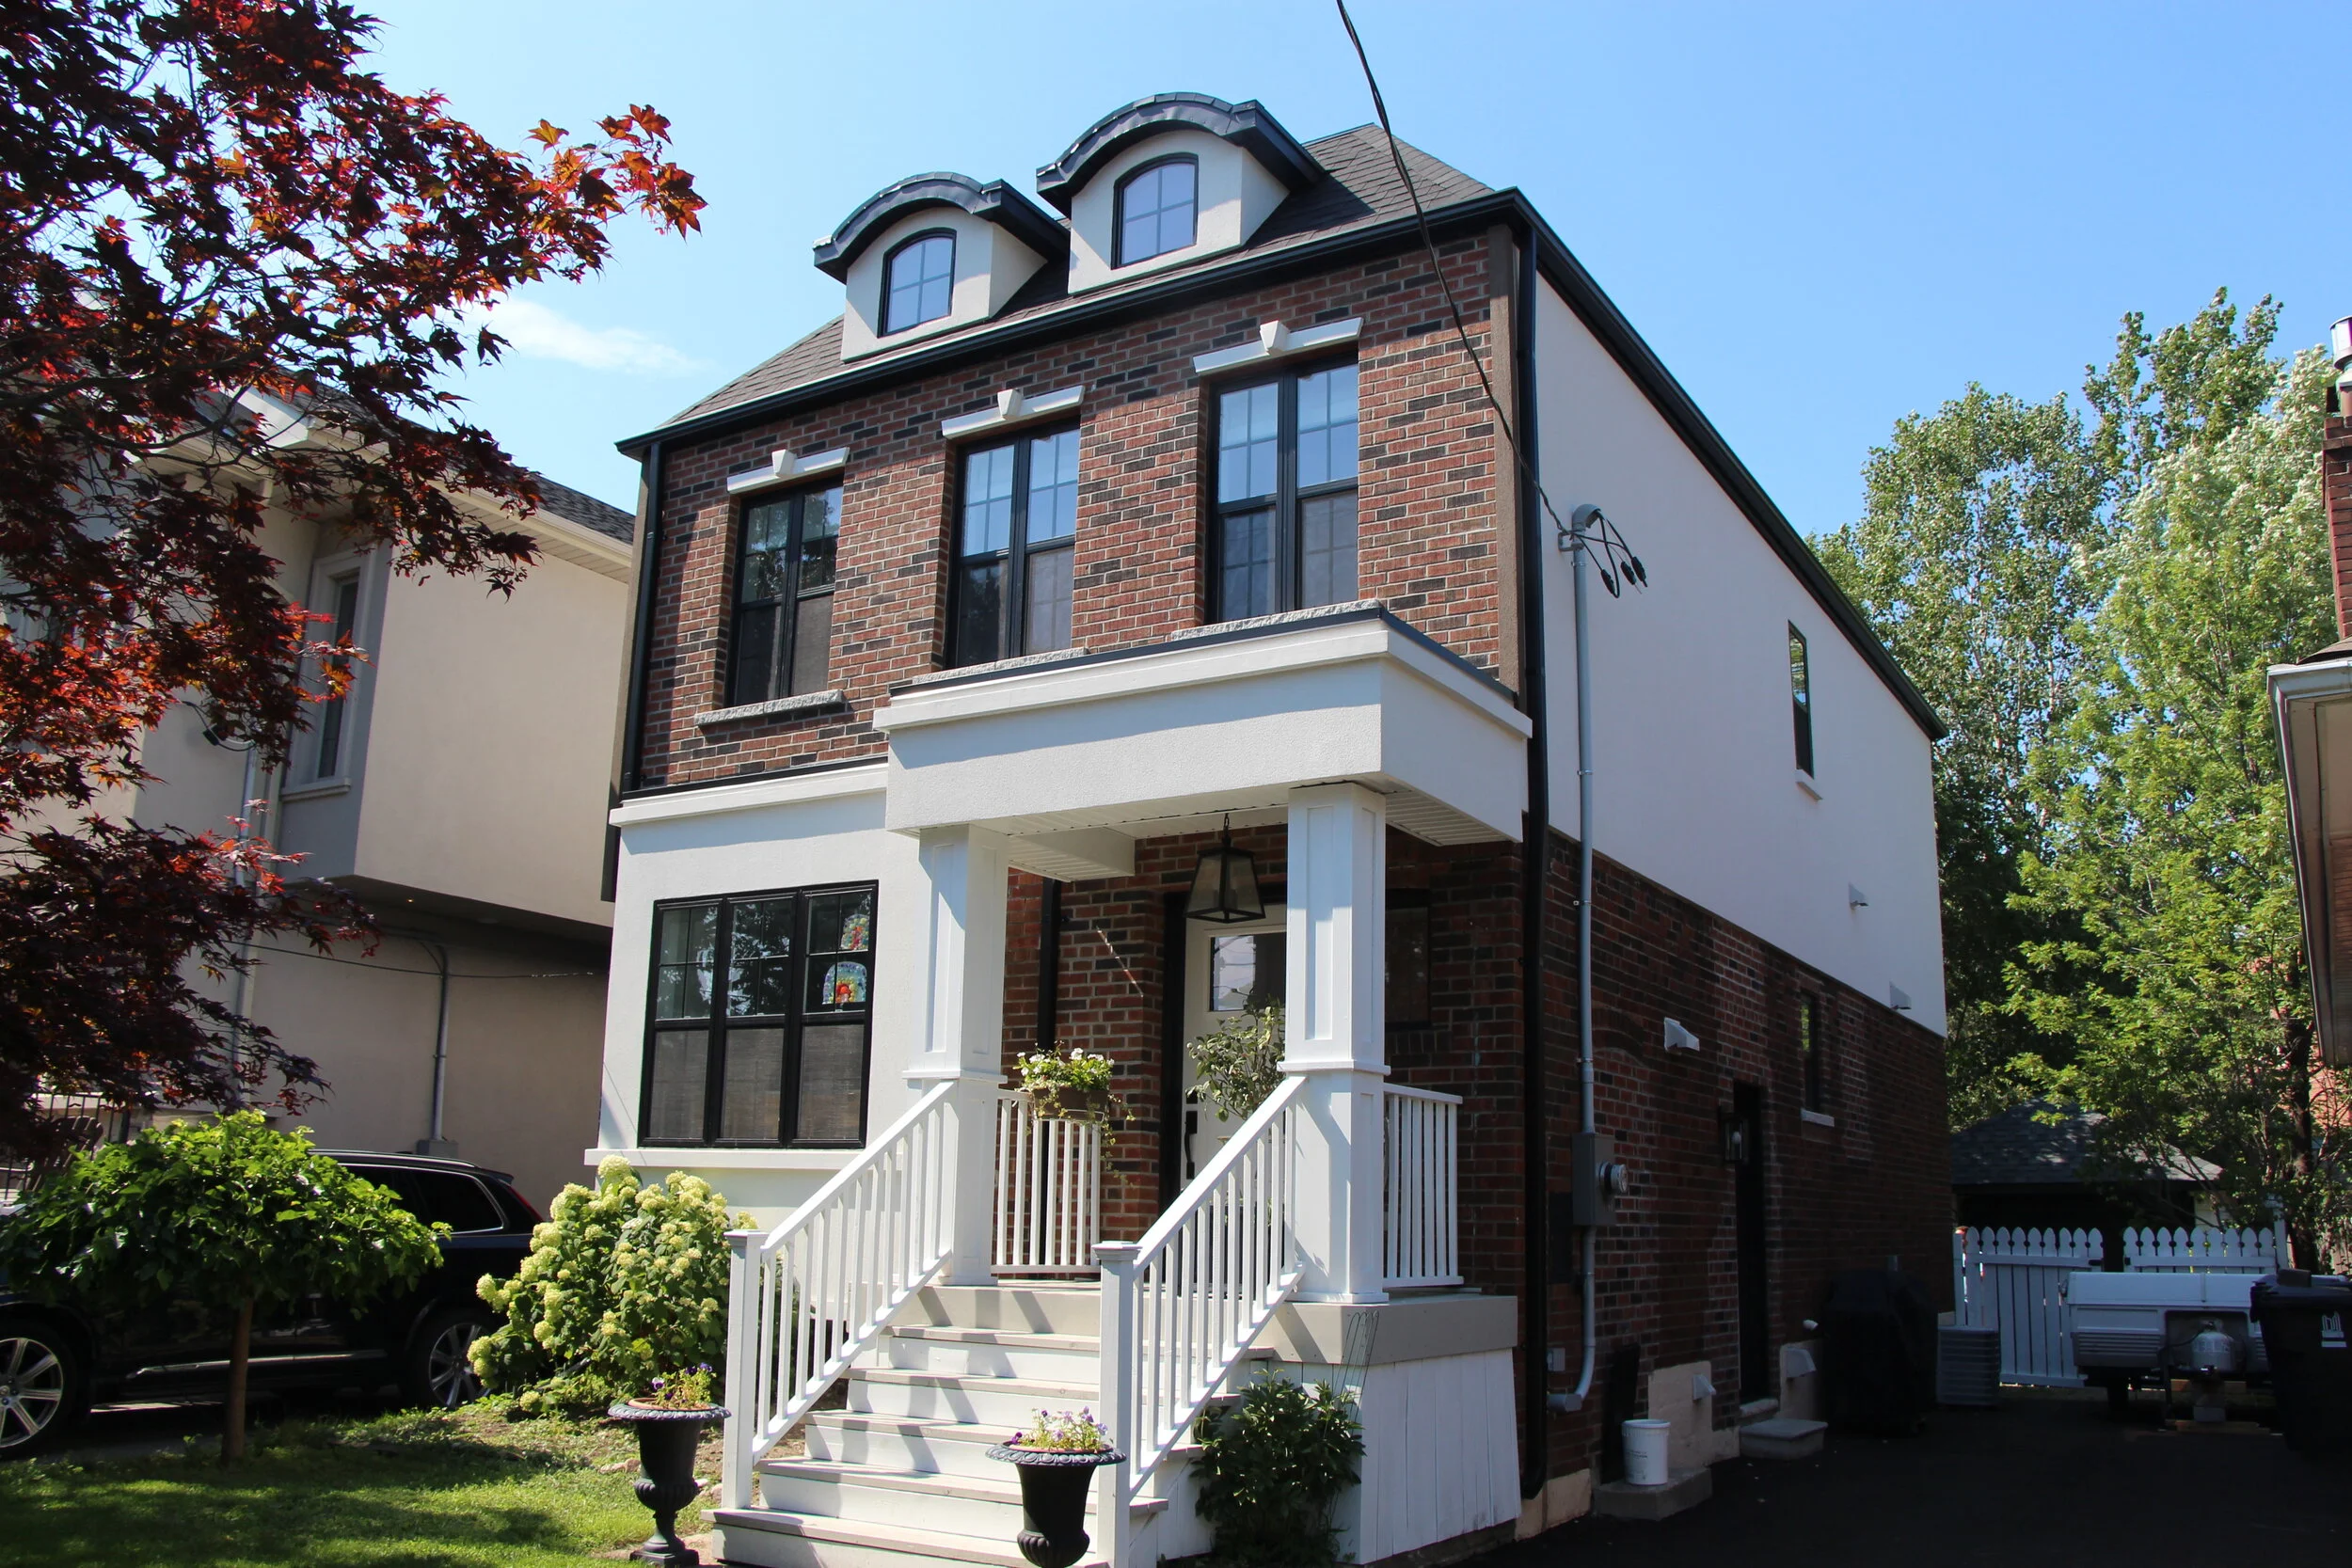
build.bvmcontracting.com

Tag: Toronto Home Additions

  • The Toronto Homeowner’s Evaluation Checklist For Home Additions

    The Toronto Homeowner’s Evaluation Checklist For Home Additions

    TL;DR: Before hiring a contractor for your Toronto home addition, verify they provide database-backed cost estimates during initial consultation, integrate with your architect during design (not after), offer structured pre-construction services, maintain transparent change order protocols, and demonstrate Toronto-specific zoning expertise. Contractors who withhold pricing until you’re invested or skip pre-construction planning create the conditions for budget blowouts and project delays.

    What You Need to Verify Before Hiring a Home Addition Contractor in Toronto:

    • Database-backed cost estimates provided during first conversation (not after design commitment)

    • Builder involvement during design phase (before architectural drawings are complete)

    • Formal pre-construction services as standalone engagement ($5,000 to $7,000 + HST)

    • Clear change order protocols with documented pricing and approval processes

    • Toronto-specific zoning expertise (not general construction knowledge across multiple cities)

    Why Most Contractor Evaluation Checklists Miss the Point

    You verify insurance. You check references. You review portfolios.

    Those steps matter. But they don’t address the structural problem that destroys most home addition projects in Toronto: information asymmetry.

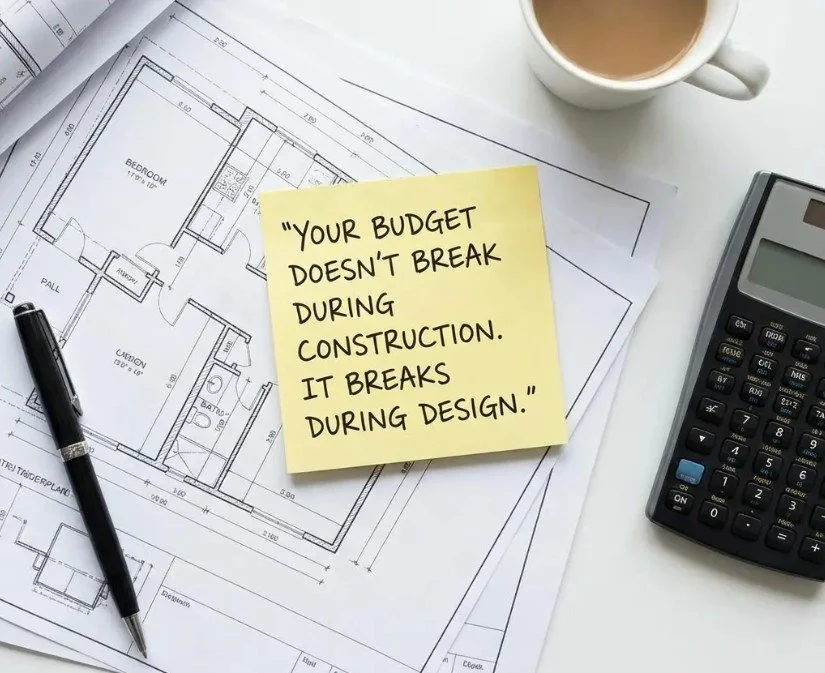
    The industry operates on a model where you commit to designs, architects, and permit applications before you know what the project costs. By the time you get a real number, you’ve spent $15,000 to $25,000 on design and engineering.

    Here’s a recent example from our database: homeowners in Cliffside came to us with completed architectural drawings and a permit in hand. They asked for pricing. The gap between their budget and the cost was $150,000. They never moved forward. The revised design was still over budget.

    Not a contractor problem. A process problem.

    This checklist focuses on the evaluation criteria that expose how contractors operate before you’re locked into a path you don’t have the budget for.

    Step 1: Verify Costing Transparency Before Design Commitment

    What to Look For

    Contractors who provide specific cost ranges during your first conversation, backed by project data from their database.

    What This Reveals

    Whether they’ve built the infrastructure to give you real numbers early. Or whether they’re guessing until designs are complete.

    The Test

    In your initial call, describe your project scope. Ask for a budget range before any site visit or design work.

    Contractors with comprehensive project databases tell you within 10 minutes whether a second-story addition in East Toronto runs $280,000 to $340,000. Or whether a laneway suite in your neighborhood costs $320,000 to $380,000.

    Contractors without this infrastructure say “we need to see the property first” or “let’s get some designs done.” Not caution. A signal they don’t have cost guidance until you’ve invested in design. Learn more about the different types of cost estimation used in residential construction.

    Why This Matters

    The longer you wait to get construction costing feedback, the larger the gap between your budget and reality.

    Homeowners who get builder input before architectural work starts avoid the $150,000 surprises when contractors price completed designs.

    Key Point: Database-backed cost estimates during initial consultation prevent budget gaps. Contractors who withhold numbers until after design commitment create risk.

    Step 2: Assess Design-Phase Integration Capability

    What to Look For

    Contractors who collaborate with architects during design development. Not after permit issuance.

    What This Reveals

    Whether they prevent budget problems. Or react to them.

    The Test

    Ask when they get involved in projects. The answer should be “before architectural drawings start” or “during schematic design.”

    If they say “once you have permit-ready drawings” or “after your architect finishes,” you’re looking at the traditional sequence. The one that creates budget blowouts.

    Why Separate Conversations Create Budget Overruns

    Architects optimize for design. Builders optimize for constructibility and cost.

    When these conversations happen separately, you get beautiful drawings that exceed your budget by 30% to 40%. Learn more about how home additions work in Toronto.

    Some architectural teams work to a scope that ends at permit issuance. Whether your project gets built isn’t their concern. If the contractor prices it at $200,000 over budget after permits are issued, you’re the one facing that problem.

    What Good Integration Looks Like

    The builder reviews preliminary designs. Flags cost drivers before they’re locked into plans. Suggests alternatives that maintain your vision while staying within budget.

    This happens during design. Not after.

    Key Point: Builder involvement during design phase (before architectural drawings are complete) prevents the 30% to 40% budget overruns that occur when design and cost conversations happen separately.

    Step 3: Evaluate Pre-Construction Service Structure

    What to Look For

    Formal pre-construction agreements that establish budget, scope, and feasibility before you commit to full construction contracts.

    What This Reveals

    Whether the contractor has systematized the planning phase. The phase that prevents most project failures.

    The Test

    Ask about their pre-construction process. Ask these specific questions:

    • Do they offer pre-construction services as a standalone engagement?

    • What deliverables do you receive (zoning analysis, preliminary budgets, scope documentation)?

    • What does it cost? Is it credited toward construction if you proceed?

    • Do they require commitment to construction before providing detailed scope and pricing?

    Contractors who skip pre-construction or bundle it invisibly into construction contracts optimize for speed. Not accuracy.

    You move faster into construction. But you’re building on assumptions instead of verified scope.

    The Data on Pre-Construction Investment

    Projects with structured pre-construction had 6 change orders on average. Projects without had 18.

    Each change order adds time and cost. Change orders slow down construction because they require re-coordination of trades, material orders, and schedules.

    Pre-construction costs less than the problems it prevents.

    Homeowners who invest $5,000 to $7,000 + HST in pre-construction save multiples of this cost by avoiding mid-project scope changes and budget surprises.

    Key Point: Structured pre-construction reduces change orders from 18 to 6 on average. Investment of $5,000 to $7,000 + HST prevents mid-project surprises that cost multiples more.

    Step 4: Examine Change Order Protocols and Documentation Systems

    What to Look For

    Clear processes for how changes are documented, priced, and approved during construction.

    What This Reveals

    Whether the contractor runs organized projects. Or chaotic ones.

    The Test

    Ask these specific questions:

    • How do you track changes during construction?

    • What’s your process for pricing change orders?

    • How quickly do I receive pricing for requested changes?

    • What project management tools do you use?

    Contractors with strong systems reference specific software. Project management platforms. Digital documentation tools. They describe structured approval processes.

    Contractors without systems give vague answers. “We’ll keep you informed.” “We handle things as they come up.”

    Why This Matters

    Change orders are inversely proportional to pre-construction investment. Even well-planned projects have changes.

    The question is whether those changes are managed systematically. Or handled reactively.

    Three Problems Disorganized Change Management Creates

    • You don’t know the cost impact until it’s too late to adjust

    • Changes compound, creating budget creep you don’t have visibility into

    • Disputes emerge about what was approved and what wasn’t

    Organized contractors send scope summaries within 24 hours of your consultation. They document decisions in writing. They provide change order pricing before work proceeds.

    Not extra service. Basic project management.

    Key Point: Clear change order protocols prevent budget creep. Contractors with documented systems provide pricing before work proceeds. Vague answers about “keeping you informed” signal reactive management.

    Step 5: Investigate Project Communication Infrastructure

    What to Look For

    Scheduled communication protocols. Not reactive problem-solving.

    What This Reveals

    Whether you’ll know what’s happening on your project. Or whether you’ll chase updates.

    The Test

    Ask about their communication structure:

    • How often do you provide project updates?

    • What format do updates take (calls, emails, project management software)?

    • Who is my primary point of contact?

    • How do you handle decisions that need my input?

    Strong answers include specific frequencies. Weekly calls. Daily photo updates via project software. Defined decision-point management.

    Weak answers sound like “we’ll keep you in the loop” or “you call anytime with questions.”

    Proactive vs. Reactive Communication

    Proactive communication means you receive updates on schedule. Whether there are problems or not.

    Reactive communication means you hear from the contractor when something needs your attention. Or has gone wrong.

    Poor communication causes more project failures than construction errors. When homeowners don’t understand what’s happening, trust breaks down. When trust breaks down, small issues become disputes.

    Example from Our Database

    Weekly communication sustained one project through complex architectural coordination. The contractor flagged issues early. Explained trade-offs. Kept the homeowner informed at every decision point.

    The project finished on time despite design complexity.

    Key Point: Scheduled communication protocols (weekly calls, daily photo updates) prevent trust breakdown. Vague promises to “keep you in the loop” signal reactive communication.

    6. Confirm Geographic Specialization and Regulatory Knowledge

    What to look for: Toronto-specific expertise, not general construction knowledge.

    What this reveals: Whether they understand the regulatory environment that controls your project.

    The test: Ask about their experience with Toronto zoning and permits:

    • How many projects have you completed in my neighborhood?

    • Can you explain the zoning constraints for my property type?

    • What’s your typical permit timeline for this type of addition?

    • Do you have relationships with Toronto building examiners?

    Contractors who specialize in Toronto can answer these questions specifically. They know that Toronto building examiners rarely issue permits on first review. They understand which zoning variances are routinely approved and which face resistance. They can forecast permit timelines based on current processing speeds.

    Contractors who work across multiple municipalities give generic answers. They’re learning Toronto’s system on your project. Familiarize yourself with key construction terms.

    Why this matters: Zoning determines what you can build. Permit processing determines when you can start. Contractors who don’t understand Toronto’s specific requirements create delays you can’t recover from.

    A preliminary zoning review takes 10 minutes for contractors with local expertise. They can tell you immediately whether your second-story addition faces setback restrictions, whether your lot qualifies for a garden suite or laneway suite, or whether your renovation requires Committee of Adjustment approval.

    Contractors without this knowledge won’t discover zoning problems until you’re deep into design and permit applications.

    7. Review Commitment Pressure and Consultation Value

    What to look for: Contractors who provide value during consultation, regardless of whether you hire them.

    What this reveals: Whether they’re optimizing for your decision quality or their close rate.

    The test: Pay attention to the consultation experience:

    • Do they provide specific information (budget ranges, timeline estimates, zoning constraints)?

    • Do they explain trade-offs and alternatives?

    • Do they pressure you to commit quickly?

    • Do they withhold information until you sign a contract?

    Contractors confident in their value give away information freely. They know that educated clients make better decisions and become better clients.

    Contractors who create urgency (“we’re booking up fast”) or withhold guidance (“we can discuss that once you’re under contract”) are optimizing for conversion, not fit.

    The filtering effect: No-obligation consultations that provide real value attract clients who value transparency and education. They repel clients who are just price shopping or looking for the fastest option.

    This filtering mechanism protects both parties. You work with a contractor whose process matches your priorities. They work with clients who understand why their approach costs what it does.

    Key Findings

    The evaluation criteria that matter most aren’t about credentials—they’re about process:

    • Contractors with comprehensive project databases provide accurate cost guidance before design work starts, preventing the $150,000 budget gaps that happen when builders price completed drawings

    • Design-phase integration prevents budget blowouts by catching cost drivers before they’re locked into architectural plans

    • Structured pre-construction reduces change orders from 18 to 6 on average, saving time and money during construction

    • Transparent change order protocols and project management systems prevent the budget creep and disputes that destroy project trust

    • Toronto-specific zoning expertise identifies feasibility issues in 10 minutes that generic contractors discover months into design

    • No-pressure consultations that provide value regardless of hiring decision filter for clients who value process over speed

    The pattern: Contractors who invest in transparency infrastructure (databases, pre-construction services, communication systems) create certainty before you commit. Contractors who skip these steps move faster initially but create the conditions for budget surprises and project delays.

    FAQ

    Q: Should I get multiple quotes before choosing a contractor?

    A: Yes, but understand what you’re comparing. Three contractors pricing the same completed design will give you cost variance data. Three contractors involved during design will give you different project approaches. The second comparison is more valuable because it reveals how they think about scope, not just how they price it.

    Q: How much should pre-construction services cost?

    A: Typically $5,000 to $7,000 + HST for comprehensive pre-construction that includes zoning analysis, preliminary budgets, scope documentation, and design coordination. Many contractors credit this toward construction if you proceed. The investment prevents problems that cost multiples more to fix during construction.

    Q: What if my architect doesn’t want builder involvement during design?

    A: This signals a process problem. Architects and architectural designers who resist builder input during design often produce drawings that exceed budgets. You’re paying for both services. Insist they collaborate, or find an architect who values constructibility alongside design. This problem is exactly why we created The Constructible Design Collective, which helps bridge the gap between design and construction costs.

    Q: How do I know if a contractor’s database-backed estimates are accurate?

    A: Ask for examples of past projects similar to yours. Contractors with real databases can show you completed project budgets (with client permission) that demonstrate their estimating accuracy. Cost calculators backed by real project data are another indicator of database infrastructure. Contractors who can’t provide examples are guessing, not estimating.

    Q: What’s a reasonable timeline for a home addition in Toronto?

    A: Design and permits typically take 5 to 7 months. Construction depends on scope, but expect 4 to 8 months for most additions. Contractors who promise faster timelines are either cutting corners on pre-construction or setting unrealistic expectations. A safe budget requires adequate planning time before breaking ground.

    Q: Should I hire the contractor who gives the lowest quote?

    A: Low quotes signal one of three things: the contractor missed scope items, they’re using lower-quality materials or trades, or they’re underpricing to win work and will recover margin through change orders. Focus on process transparency and scope clarity, not lowest price.

    Q: How can I verify a contractor’s Toronto-specific experience?

    A: Ask for addresses of completed projects in your neighborhood. Drive by them. Ask about specific zoning challenges they’ve navigated. Contractors with real Toronto experience can discuss Committee of Adjustment processes, building examiner preferences, and neighborhood-specific constraints in detail.

    Q: What should I do if I’ve already started design without a contractor?

    A: Bring a contractor in now, before designs are finalized. Even mid-design involvement prevents problems. The worst scenario is pricing completed permit-ready drawings and discovering you’re $100,000+ over budget with no flexibility to adjust.

    More Informative Home Addition Content

    About BVM COntracting

    BVM Contracting is a full-service General Contractor or Home Builder located in Toronto. We provide home renovation and building services for major home renovations and custom home builds (full interior renovations, home additions, lot severances, new home construction, garden suites, and laneway suites). Our goal is to help guide our clients through the process of building their home, from concept to completion.

    Further than providing General Contracting and Project Management for major home renovations, we also offer value-added services such as renovation financing, renovation rebate consultations and services, building permit and design services, smart home installation services, and real estate investor services.

    To learn more about our offering by visiting our services page. Learn more about our vision, mission, and values here.
  • Must Have Upgrades for Your Home Addition

    Must Have Home Addition Upgrades

    When people think about home additions they usually do not think of it as a “custom home build”. Well I am here to tell you that it is entirely possible to create a one-of-a-kind home by completing a home addition versus a new home build. Yes there are a few more constraints to deal with, but if you have the right design and permit submission team and General Contractor anything is possible!

    If you don’t believe us, check out some of our featured home addition projects, some of the outcomes may surprise you (especially Fishleigh, Broadleaf, and Cosburn).

    In this article we dive into the upgrades you will want to make (or consider making) during your home addition project to turn your home addition into a custom home. If you have any questions or comments you can contact us via our online contact form, which also has our email and phone number for direct contact.

    Upgrades to consider during a Home Addition

    Upgrade Idea #1: Increasing main floor ceiling height

    A very common upgrade for home addition projects in Toronto is to increase the ceiling height of your main floor while your roof has been removed. Note that this only works for top-up additions where the entire roof has been removed, and your exterior walls will need to be removed to confirm if they can support the additional blockwork required to properly increase the ceiling height.

    If you are unsure if your exterior walls are load-bearing, reach out to us to schedule a consultation.

    Upgrade Idea #2: In-floor heating

    In-floor heating is another popular add-on for home addition projects, and the application of such varies. There are many different areas where you can consider in-floor heating:

    • Bathrooms

    • Foyers

    • Basically any tiled floor

    • Basement flooring

    • Above-grade in-floor heating

    Depending on the total square footage and location of the in-floor heating you have a few options on type of in-floor heating. For smaller square footages like bathrooms it is recommended to go with an electric in-floor heating option, and for larger square footages (like basement in-floor heating) a hydronic heating solution is your best bet.

    Upgrade idea #3: Ev-charging Station

    With the rise of electric vehicles throughout Canada it has become a great idea to upgrade your home to accommodate your future needs as a commuter. Installing or roughing in for an EV charging system is a very easy process that can be completed during the electrical phase of a home addition project. This upgrade will allow you to have a dedicated charging area for your current or future EV vehicle, and will also future-proof your home from a resale perspective.

    The location of an EV charging station is recommended to be in the area of your property where you park your vehicle, so if you have a driveway or garage those would be the most ideal locations.

    Upgrade Idea #4: Garage

    There are many ways to introduce indoor parking into your existing home. Some designs incorporate a garage within the existing footprint, while other designs call for an extension to the existing home in order to accommodate a garage. Depending on the size of your property, local setback rules, and location of your driveway you may have an easier or more difficult time, so we suggest reaching out to a designer or architect to confirm what is possible for your property.

    Upgrade idea #5: Generator rough-in and/or Installation

    Gas Generator

    Installing a generator is quite an expensive venture from beginning to end (around 10-20 K), so rough-in only is a more popular approach. In order to have the ability to install one in the future you will need to consider a few items during your home addition:

    • Future location of the generator. Note that the generator will need to be located away from any windows, doors, or fresh air intakes into the home. This will dictate where the next two items will be placed.

    • Gas rough-in. You will want to get a gas line run to the area where the generator will be installed (or the closest area on the outside of your home that you can place the gas line)

    • Electrical rough-in + transfer switch. An electrician will be responsible for connecting the generator to an automatic transfer switch, which senses when the grid power goes out. It is recommended always to install a whole-home transfer switch that matches the amperage requirements of your existing panel. For example, if you have a 200 amp panel you should install a 200 amp transfer switch. The transfer switch should ideally be placed as close to the meter base as possible, which will lower the amount of wiring work for the electrician.

    Battery Back-up Storage Systems

    Another option for back-up power is a battery back-up storage solution. The industry is still in it’s infancy and there are less options in Canada but if you reach out to any solar provider they may be able to offer a battery storage system as part of your solar panel installation. These systems work with or without solar panels, and would be able to provide back-up power to your home in the event of a power outage. One of the best-marketed battery storage solutions is the Tesla Powerwall, but there are other options if you look into it online.

    Upgrade Idea #6: Basement walk-out

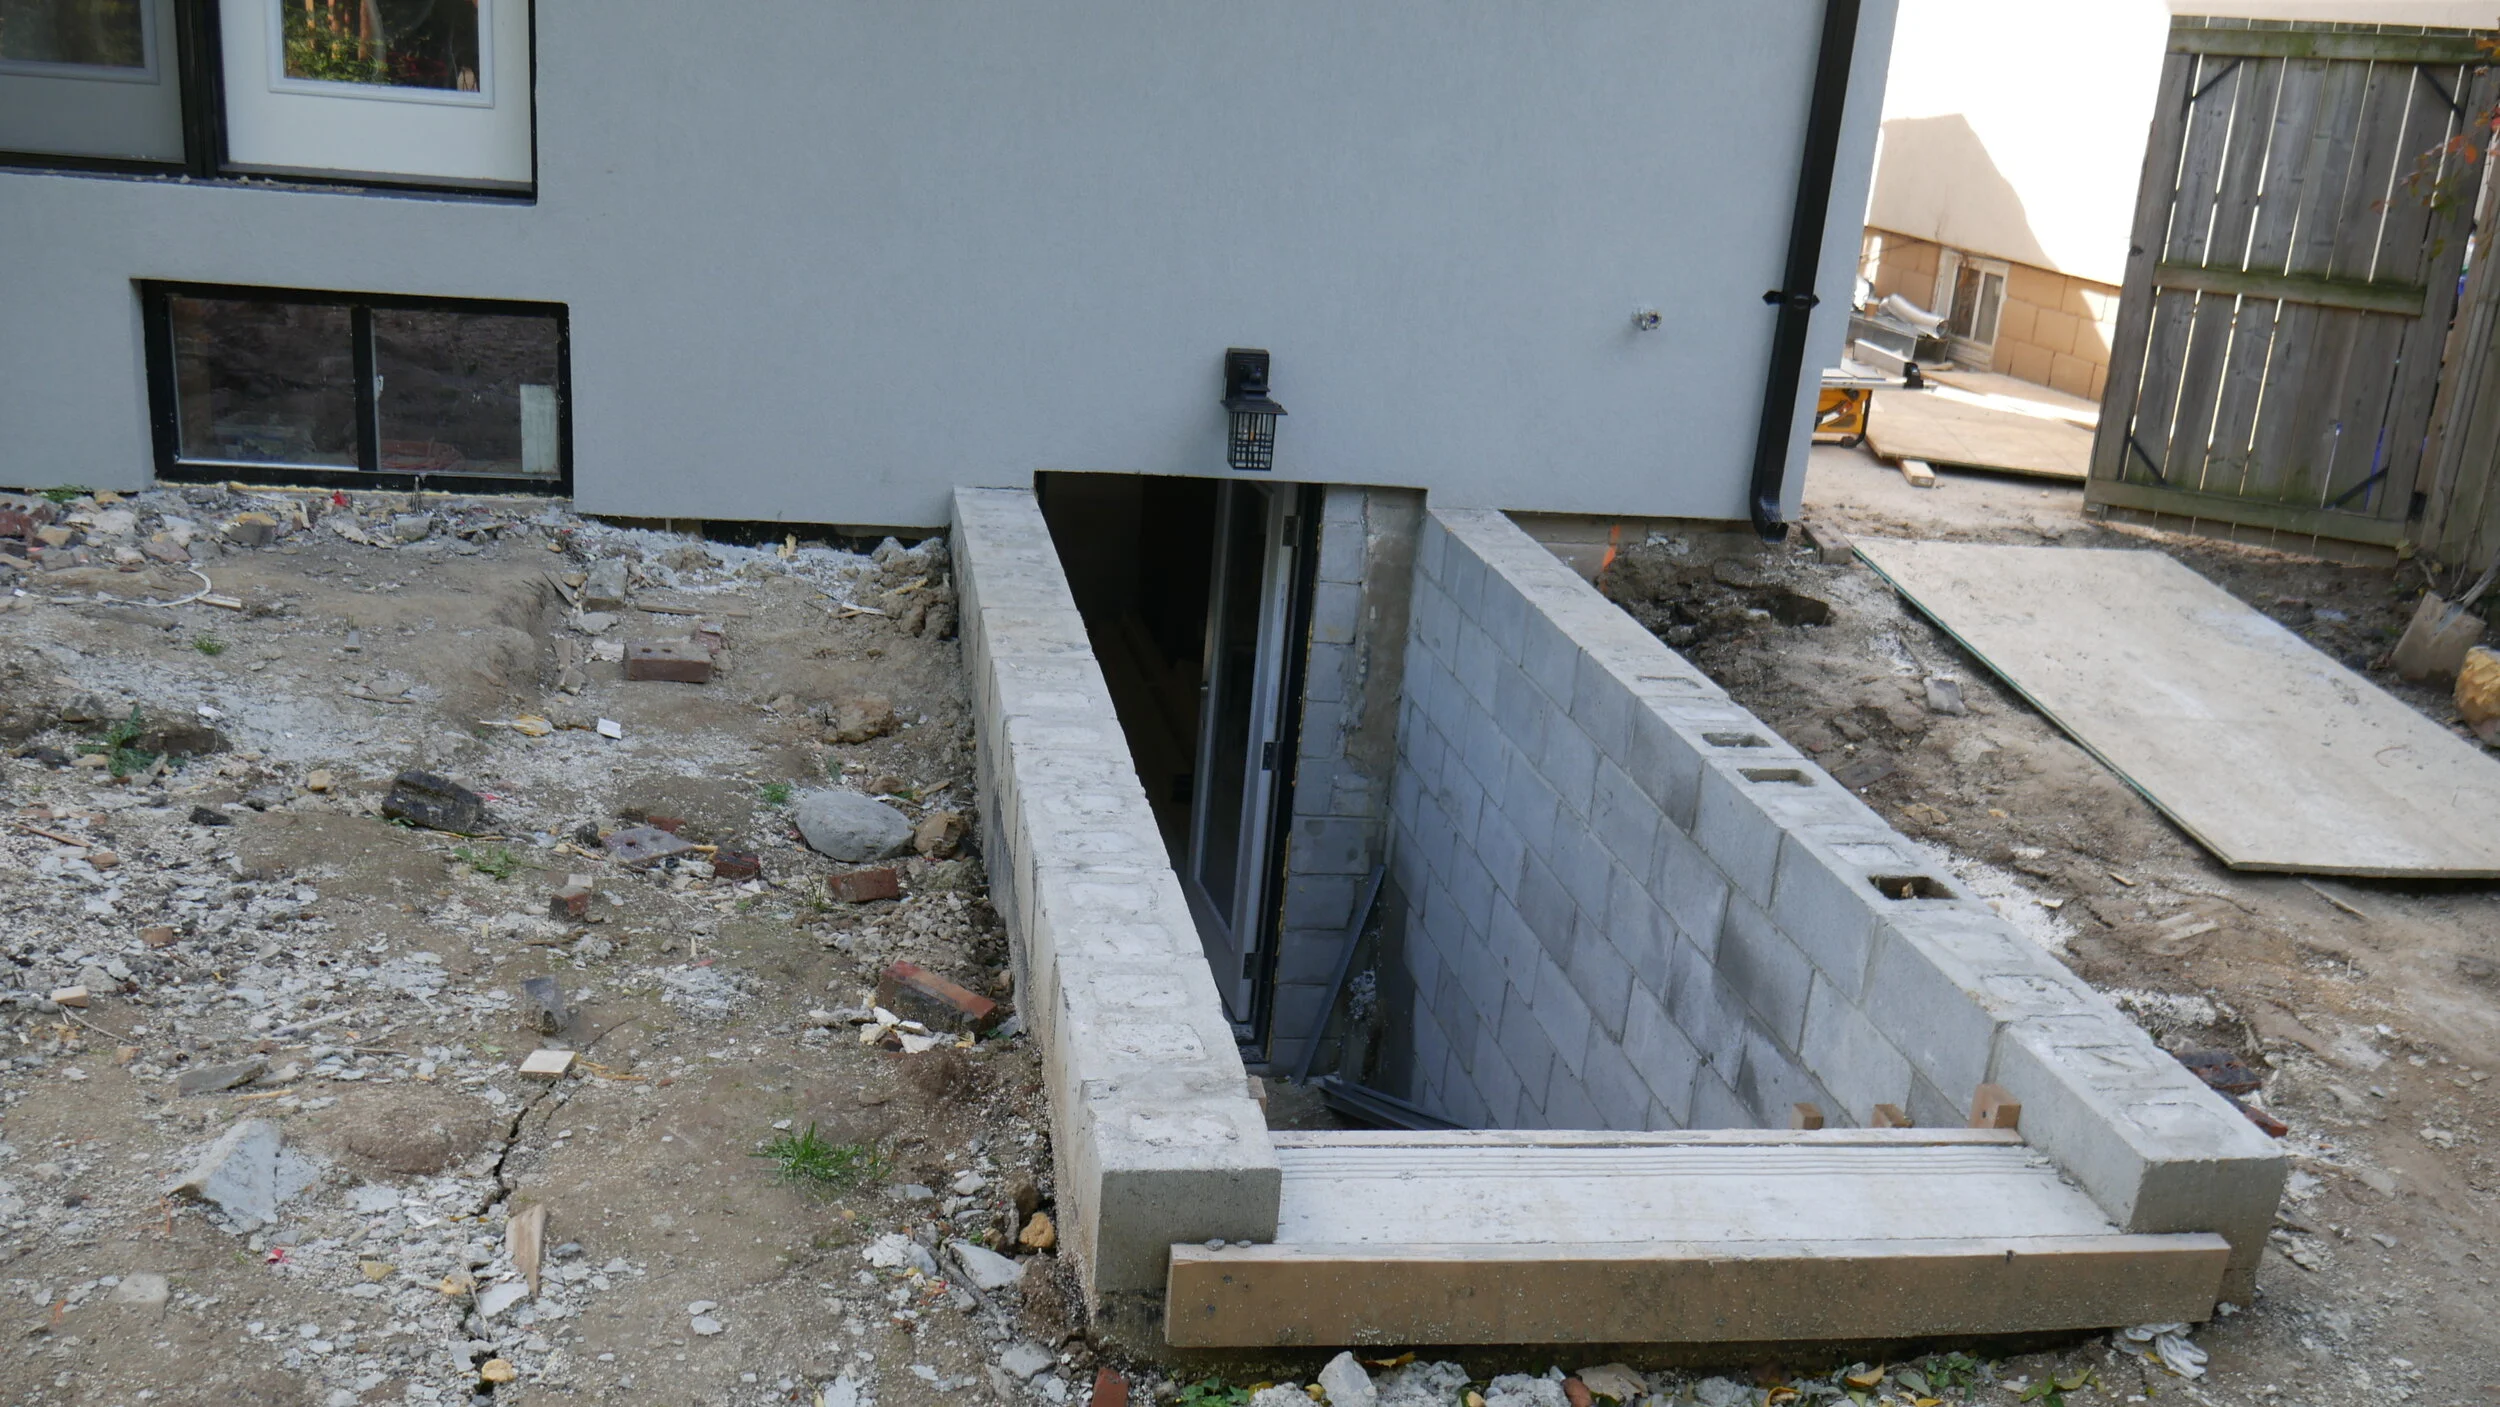
    If you are looking for additional functionality and accessibility in your basement, a walk-out is a great option. Whether it is to provide better entertaining opportunities for yourself and your family or to allow for a legal basement apartment, it may be a worthwhile upgrade for your property while you are extending to or adding to your existing footprint. The best type of home addition to consider a walk-out with is an extension project. Since the blockwork or concrete forming work for the new foundation is already being completed for the extension it will cost a minimal amount to add in the foundation and finishing work for a basement walk-out (compared to adding one to an existing home’s foundation).

     Example of a basement walk-out at one of our home addition projects in East York, Toronto
    Example of a basement walk-out at one of our home addition projects in East York, Toronto

    Upgrade Idea #7: Custom window finishes

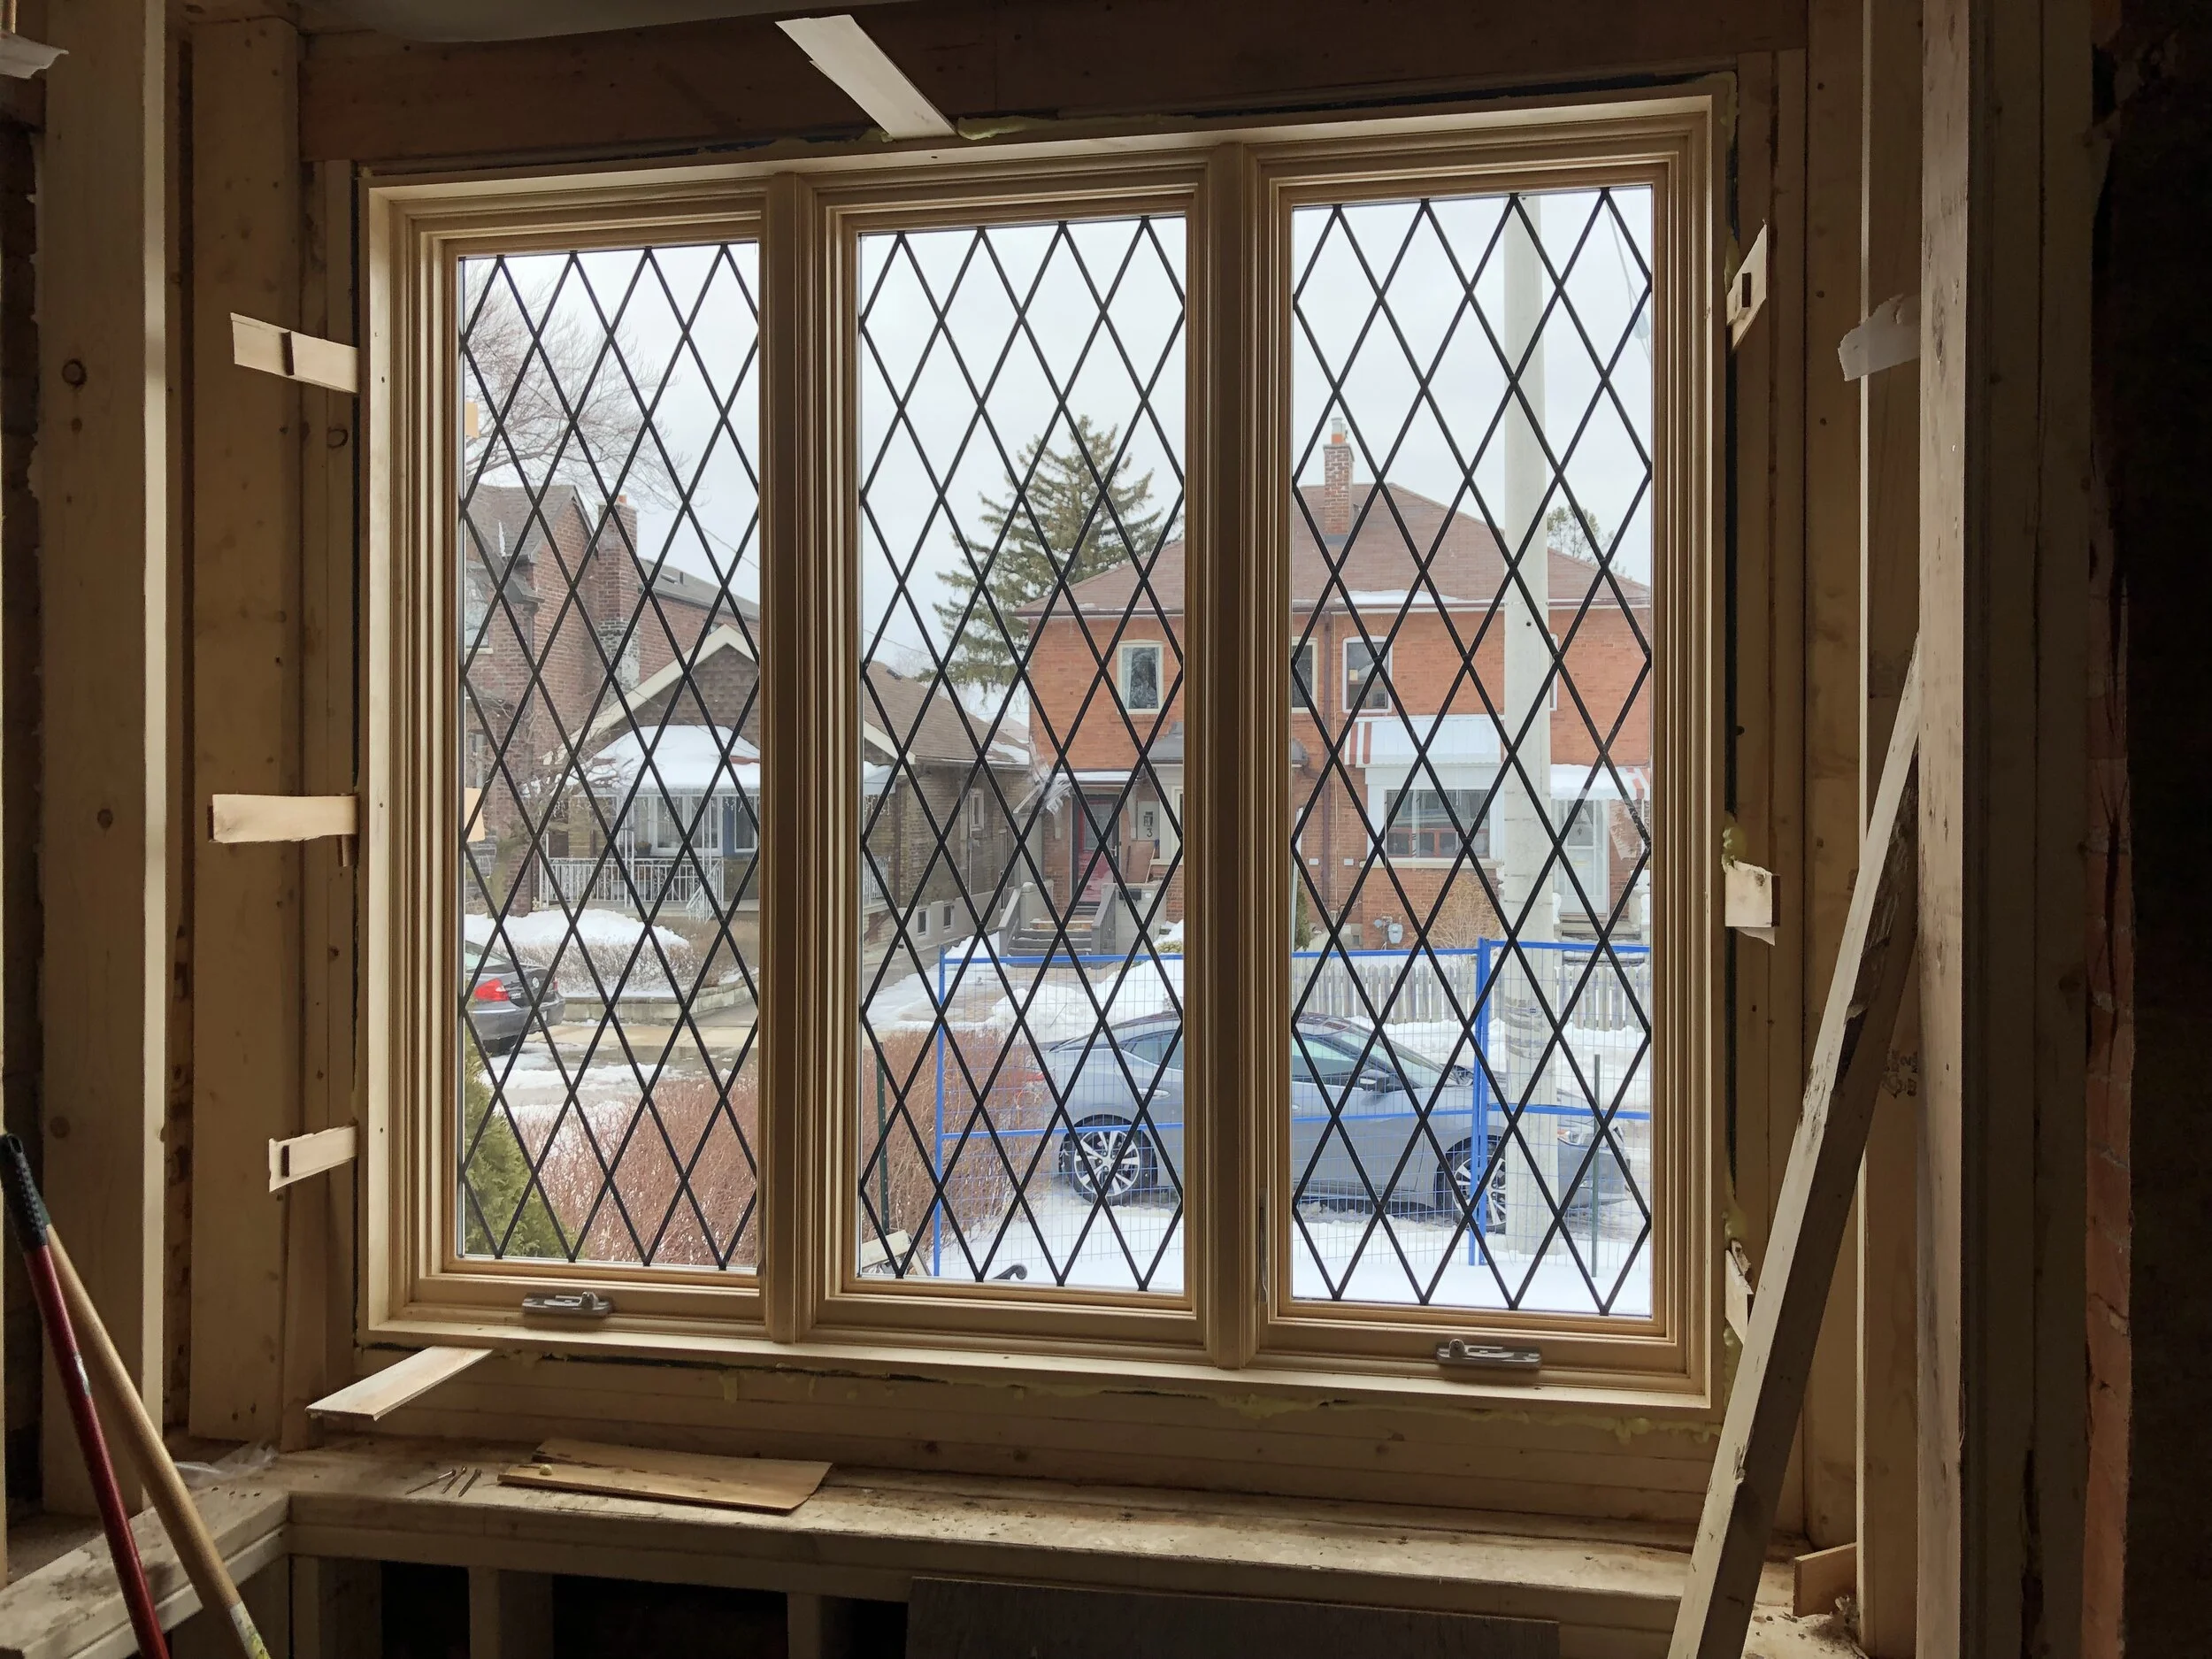
    If you are planning on upgrading all of your windows during your home addition (which is a common choice from our clients) it would be a good idea to understand what all of the finishing options are for the windows. You can pick a bunch of different colour options and can create different window styles by the use of various grill patterns. Our window manufacturer is able to customize your windows to be a truly unique look in your neighbourhood.

     An example of a custom window ordered through BVM Contracting’s Window Supplier at one of our  East York Home Addition Projects
    An example of a custom window ordered through BVM Contracting’s Window Supplier at one of our East York Home Addition Projects

    Upgrade Idea #8: Specialty plumbing fixtures

    Specialty plumbing fixtures are common upgrades for custom homes and new home building projects, but that does not mean that they cannot be included in your home addition project. Our top recommendations for plumbing upgrades (from what our clients have done) includes:

    • Pot fillers for kitchens

    • Ice and water maker for Fridge

    • Bidet for bathroom

    • Stand-alone tub for master ensuite

    • Hot water recirculation system (see article below)

    • Wall-mounted faucets for bathrooms and kitchens

    • Hydronic in-floor heating (as described above)

    Upgrade Idea #9: Dual zone HVAC system

    It is surprisingly easy to set-up a dual-zone HVAC system for your home, as long as you are replacing your ductwork during your home addition project. This allows you to set the temperature for your second floor differently from your main floor, which comes in handy during the cold winters and hot summers that we experience in Toronto. If you are interested in learning more about how to set-up a system like this for your home addition project please reach out!

    Upgrade Idea #10: Solar Panels

    Last but not least is the installation (or rough-in) for solar panels. If you are planning on offsetting your energy usage with solar then planning for it during the home addition planning process is critical. Make sure that you reach out to a solar installer as soon as you know you are planning a home addition to make sure you can properly plan the installation after the home addition is built.

    If you are only looking to rough-in for solar you will want to make sure that you work with a solar installer to run the correct wiring to the final location of the solar panels. There is always an option to run everything AFTER the home addition is complete, but there will need to be wiring and conduit on the exterior of your home which may interfere with the overall look of the exterior.

    Conclusion

    The bottom-line is that you can complete a lot of upgrades to a home addition to make it look and feel like a new home, as long as you are working with the right team. We will be able to help you create a budget that accounts for all of these upgrades and allow you to make a decision on which ones you would like to incorporate into your addition project. Reach out to us today to start the conversation about building your dream home!

    About BVM COntracting

    BVM Contracting is a full-service General Contractor or Home Builder located in Toronto. We provide home renovation and building services for major home renovations (kitchen renovations, bathroom renovations, basement renovations, full interior renovations, home additions, lot severances, and new home construction). Our goal is to help guide our clients through the process of renovating their home, from concept to completion.

    Further than providing General Contracting and Project Management for major home renovations, we also offer value-added services such as renovation financing, renovation rebate consultations and services, building permit and design services, smart home installation services, and real estate investor services.

    To learn more about our offering by visiting our services page.

  • How to Keep Home Addition Costs Low

    How to Keep Home Addition Costs Low

    How To Keep Home Addition Costs Low

    Whenever people first look at completing a home addition, they often are surprised to see the magnitude of total project costs. A home addition in Toronto (based on our own pricing and budgeting in 2022/2023) can easily range anywhere from $400 000 – $800 000 (taxes included), depending on:

    • The amount of the existing house being renovated

    • How much additional square footage is being created

    • What the existing conditions of the house are

    • What the starting square footage of the house is.

    Since the range provided above is so variable it is always recommended to submit your home’s property information to us so we can start the process of giving you a budget for your project. There are many different types of homes in Toronto and many different client needs, which is why we created our renovation consultation service. By completing our renovation consultation will be able to get a better idea of what your realistic costs will be for your project BEFORE you commit to completing the design and permitting. We would rather be honest upfront and let you wait to do the project properly than string people along.

    Through our experience pricing out home addition projects in Toronto, we have narrowed down the key areas you should focus on to keep costs lower for your project. Take a look below and if you have any additional questions we welcome you to reach out!

    Home Addition Cost Saving Ideas

    Cost saving Idea 1: Involve a Home Builder or General Contractor in the design phase

    This idea is simple but powerful. Why wouldn’t you try to involve a Home Addition Contractor in the design phase if they are the ones who will be pricing out the project? The earlier in the design process they can get involved, the sooner you can pivot away from costly design details. The fact of the matter is your architect or designer working with you on your permit submission drawings will not know the costs of your project from beginning to end, no matter how handy they are. So get an experienced home addition team with the estimating and budgeting experience involved in the design phase as soon as possible!

    Cost saving Idea #2: Top-up versus extension

    There are essentially two ways you can add more space to your existing home – horizontally or vertically. If you have the ability to just build on top (vertical) of your existing home, that will trim the budget versus doing the same amount of square footage with an extension (horizontal). The reason for this has to do with the additional steps involved in completing an extension, you have to create a new foundation that usually comes with intensive excavation and foundation prepwork. Extensions being included as part of a home addition are not always avoidable depending on your needs, but it is something to consider. There are other ways to maximize a top-up addition project, like completing a cantilever, that can be explored versus completing an extension as well.

    The only exception to this rule is if you are completing underpinning work in your basement, there may be some efficiencies that come with completing a rear extension in this scenario due to the ability to machine dig the basement versus a manual dig. This is on a case-by-case basis so reach out to us to discuss.

    Cost saving Idea #3: Keep existing brick cladding for main level intact and Exterior finishes

    If you take a look at our page that goes into detail about the different types of home additions you will see a before and after picture of one of our home addition projects that maintained the existing brick on most of the main level of the home (which started as a bungalow). We were able to get a brick match for the second level and the outcome can speak for itself. The exterior finishing costs for this were substantially reduced because less surface area was affected.

    Even if you are planning on recladding everywhere, it is important to use materials that are not super costly, and work with both your Designer and General Contractor to come up with a finish that does not break the bank.

    Cost Saving Idea #4: Basement refinishing and Renovations

    Many times when people are planning substantial renovations and home addition projects, they try to get everything done at once. There are certain benefits to doing it this way, but if you are trying to be cost-conscious with your home addition it would be a good idea to reduce the overall square footage of the existing house being renovated. An easy way to do this is to remove any basement refinishing from your home addition scope, it will allow you to focus on your needs of why you are doing the home addition in the first place and can always be done after in a secondary project to the home.

    We have recommended this countless times to our clients and will continue to do so to help them save money.

    Cost-saving idea #5: Salvaging existing HVAC equipment

    If you have recently invested in a furnace, air conditioner, or hot water system, these items can easily be reused for home additions, as long as they are sized properly for the new square footage and heat loss of the home.

    During the design phase you will need to obtain an HVAC design that will give a heat loss calculation for sizing your furnace and AC systems. If the BTU/hr (for your furnace) and tonnage (of your air conditioner) is higher than the numbers listed you should be able to salvage them.

    Cost Saving idea #6: Salvaging finishes from your existing home

    This is probably an unpopular opinion across the board for many General Contractors, but with the rise of the circular economy in residential construction it is worth noting. If there is anything in your existing home that you are looking to salvage (whether that be kitchen cabinets, door handles, lighting, doors, etc.) you should make sure you can allocate some time to coordinate getting them safely removed from the home to be either reused in your new home or sold.

    Just note that if you are planning on reusing fixtures that the onus will be on you to make sure they are stored safely and have all of the hardware needed to be reinstalled.

    We have helped clients create a section of their scope that includes salvaging with great success, but need to be some level of involvement from the client in order to make it happen.

    Cost Saving Idea #7: Plumbing Fixture locations

    When designing your home it is important to note that the closer plumbing fixtures are to each other (both horizontally and vertically) the more efficient the plumbing work will be. For example, if there is a way to have a common wall between your ensuite bathroom and second bathroom on your second storey addition, then you should try to make that work. Even better, if the bathrooms are located above the existing plumbing stack for the home it will make a plumber’s job way less labour intensive.

    Cost Saving Idea #8: Sourcing your own finishes

    This is something we allow all of our clients to do, and it saves them quite a bit of money because we are not charging extra to source finishes on their behalf (which other General Contractors and Home Builders do). We pass along any contractor discounts to our clients with our preferred list of vendors, which allows them to save even more money. The dual benefit of this is it allows the clients to feel more involved in the home addition process.

    Cost Saving Idea #9: Completing Portions of the project yourself (DIY)

    Many times our more handy clients ask us if they can take on portions of the project that they have prior experience with. This has included tiling, trim/door installations, flooring, and painting. We understand that labour is not cheap with many trades, so for the clients that have the time, experience, and patience this is a quick way to save a bunch of money.

    Just note that we only allow our clients to take on work AFTER the Drywall Finishing stage, any work before will need to be completed by BVM-managed subcontractors. This is to prevent any delays in the work and to ensure quality behind the walls.

    Cost Saving Idea #10: Reduce the Amount of Tiled surfaces

    The cost to supply and install tile can range between $20-30 per square foot, whereas with hardwood you would be around the $10-15 per square foot range. Compare that to vinyl (which would come in around $6-8 per square foot) and your savings from swapping out your finished flooring material can be substantial!

    Cost Saving Idea #11: Trusses versus hand-framed roofs

    Lumber is an obviously expensive line item nowadays with home additions and home building projects across Toronto, but so can the labour portion of framing if you are not careful. The one thing you can do with the lumber line item that can save you money is designing the roof system so that trusses can be installed, versus having to hand frame the roof.

    Cost Saving Idea #12: Reduce or remove Steel beams

    This is not always avoidable depending on your design, but if you care a lot about costs it would be best to have your designer or architect design your home addition with the intention of reducing or avoiding steel beams wherever possible.

    Conclusion

    These are just some of the more popular ideas that we have come up with clients and designers to reduce the overall cost of a home addition project during the design phase. We always recommend getting ourselves involved during the design process, it is a bunch of work but is worth it for us and the client.

    Before you get to the design phase, make sure you get in contact with a reputable General Contractor that will be able to help get you a representative budget so you can make sure you can afford the work before spending money on a design you can’t afford. Better yet, you can also find out if your home is a good candidate for a home addition by reading our blog on the topic.

    About BVM COntracting

    BVM Contracting is a full-service General Contractor or Home Builder located in Toronto. We provide home renovation and building services for major home renovations (kitchen renovations, bathroom renovations, basement renovations, full interior renovations, home additions, lot severances, and new home construction). Our goal is to help guide our clients through the process of renovating their home, from concept to completion.

    Further than providing General Contracting and Project Management for major home renovations, we also offer value-added services such as renovation financing, renovation rebate consultations and services, building permit and design services, smart home installation services, and real estate investor services.

    To learn more about our offering by visiting our services page.